
Card Labels
Card labels allow you to organize your cards better through color coding, making it easy to spot the different types of tasks you have on your board.
Access
- Click the Board Settings icon in the top/right navigation.
- Click Card Labels from the left side panel.
Use
- On the text box that says “Add Label”, type in the name of the new label that you want to add.
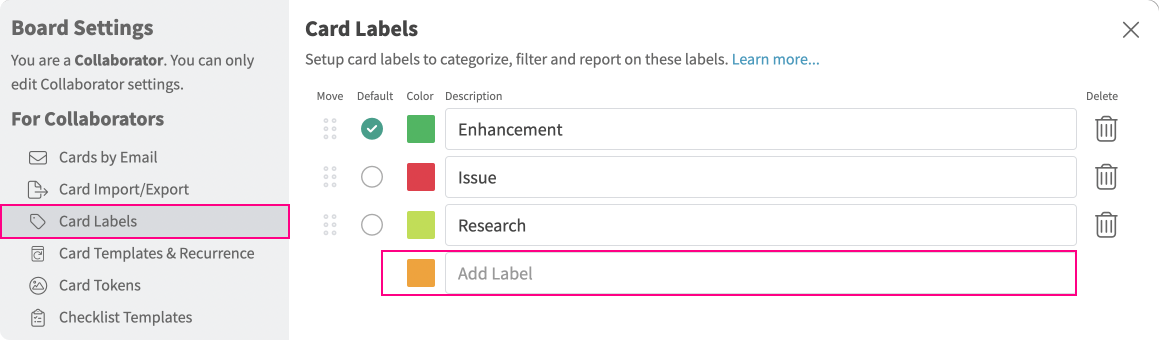
- Once done, click Enter to confirm.
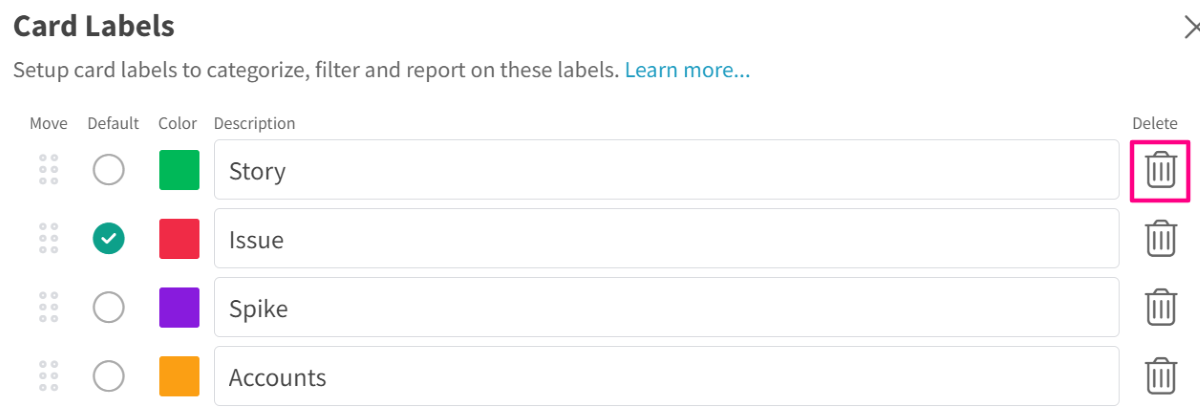
Customize Card Labels
- From the Labels tab on the Settings window, type in a new name for the card labels that you want to update.
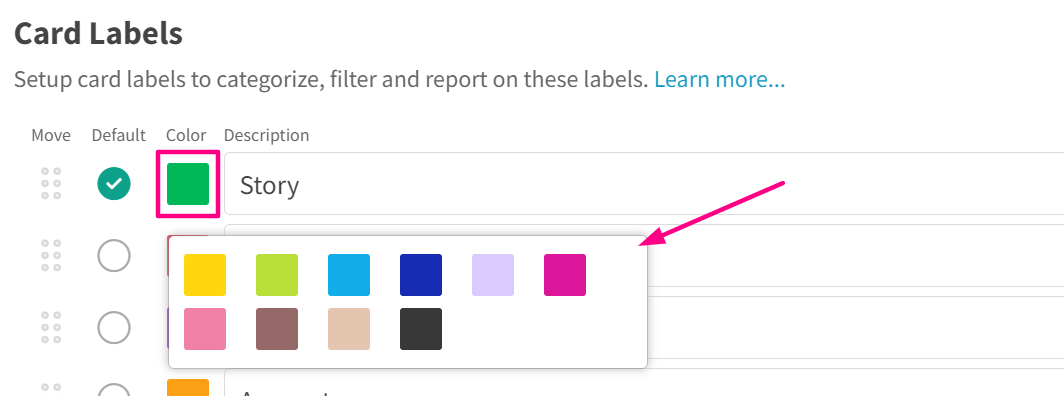
- To change the color of a card label, click on the colored boxes on the left side of the label names and choose a different color from the palette window.
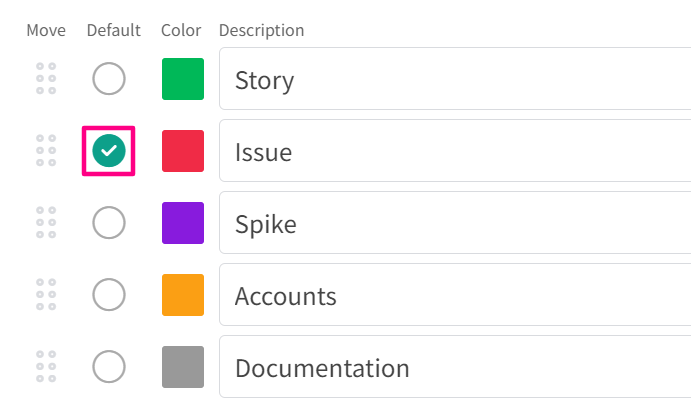
- To change the default card label, click on the radio button on the left side of the card you want to set as default. The radio button should then turn to a green tick button.
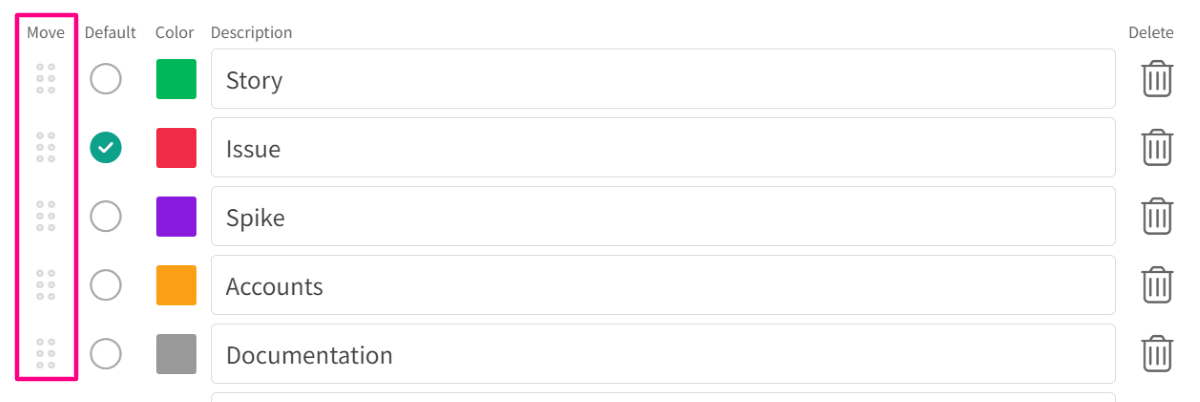
Organize Card Labels
- To organize and reorder your card labels, click on the “Move” button on the left side of the card labels and drag and drop the label.
Delete Card Labels
- To delete a card label, click on the “Delete” icon on the right of the label name. A dialog box will open to confirm this action. Click “Remove” to confirm deletion.
Did this answer your question?